Appearance
👤 User Guide: Generating Reports
Generate professional reports by selecting a report type, uploading data files, and letting the system create your report automatically.
Prerequisites
Required: User account with Admin permissions
Files to prepare: Source data files containing your report information
- Supported formats: Excel (
.xlsx,.xls), Word (.docx,.doc), PDF (.pdf) - Can upload multiple files—all will be processed together
💡 Check the report type's sample file to see what data is expected
The 3-Step Wizard
Video Tutorial
📱 Mobile Version:
Accessing the Wizard
- Log in to Auto-Report System
- Navigate to "Tạo báo cáo" (Generate Report) in the left sidebar
Step 1: Configure Report
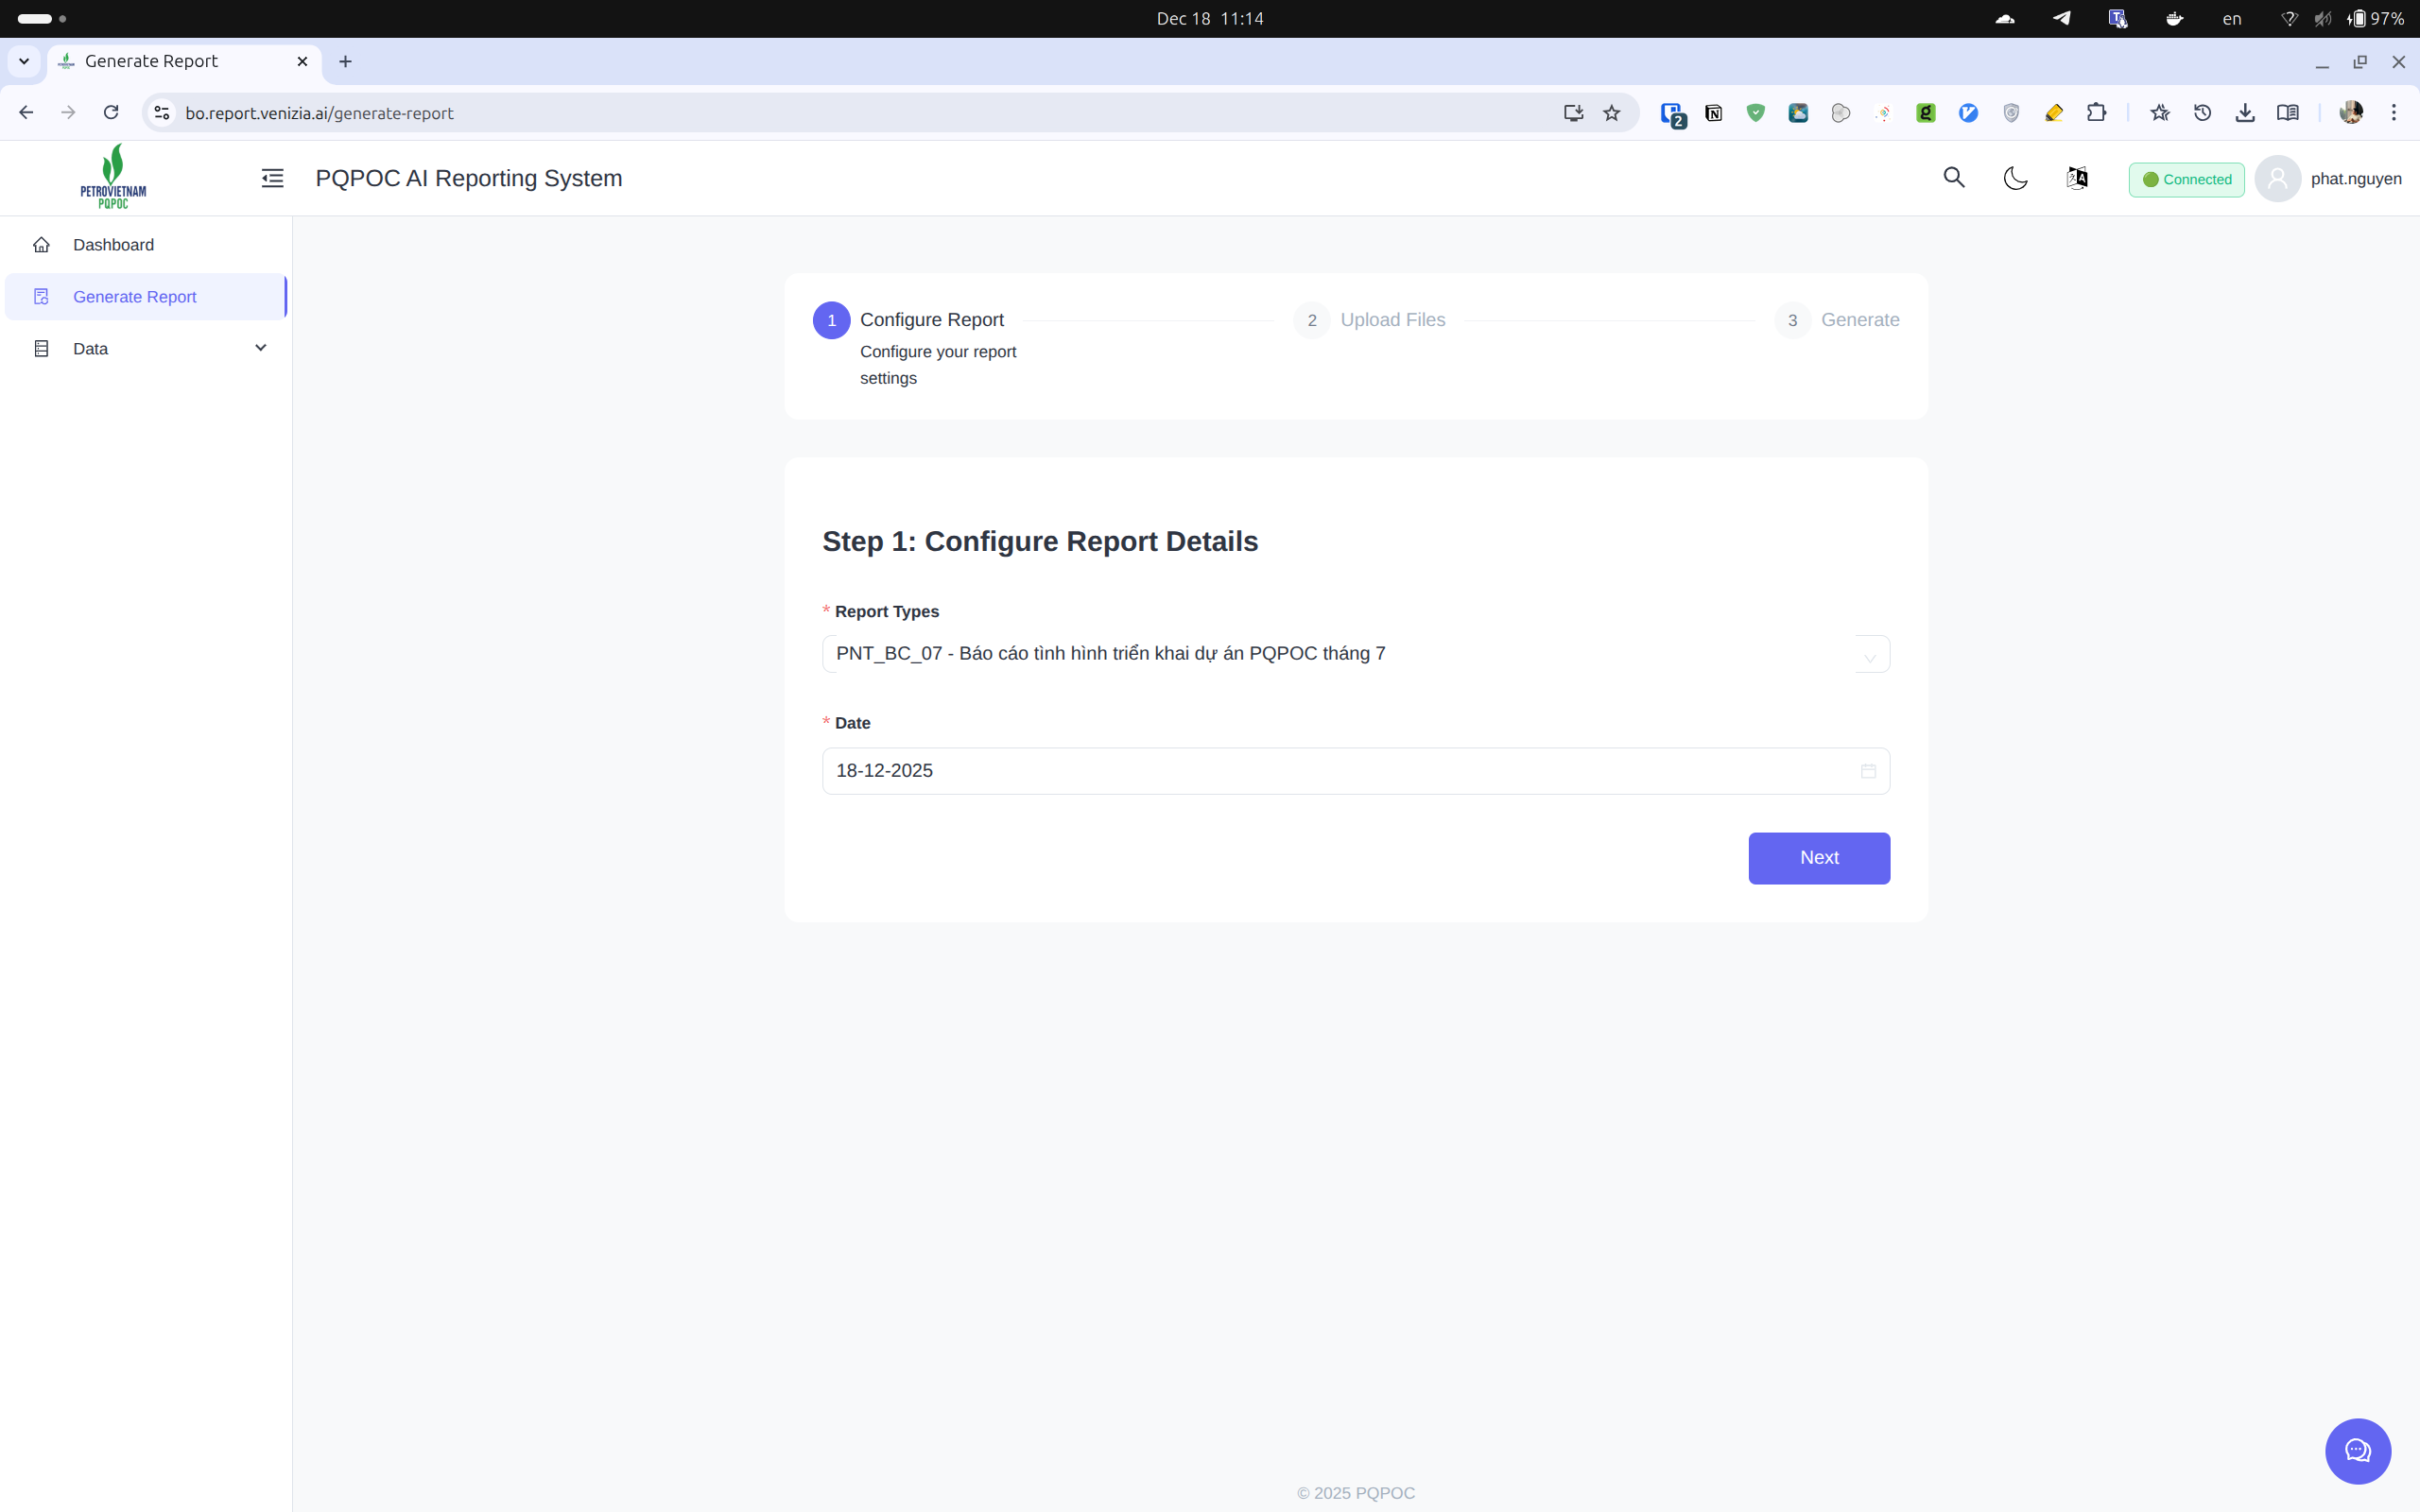
1. Select Report Type (required)
Click the dropdown and choose your report type (e.g., "BC-04", "BC09", "PNT_BC_01").
💡 Not sure which to use? Check with your team lead or administrator
2. Choose Date Tag (required)
Select a date in YYYY-MM-DD format (e.g., 2025-12-12). Use the date picker or click a suggested recent date.
The date tag represents the reporting period (e.g., 2025-12-12 for December 2025 monthly report).
3. MCP Script (optional - skip for most reports)
Only enter if your administrator provides a script. Most users don't need this.
Finish: Verify selections and click "Next"
Step 2: Upload Source Files

Upload your data files:
Click the upload area and select files, or drag and drop them.
Supported formats:
- Excel:
.xlsx,.xls - Word:
.docx,.doc - PDF:
.pdf
Multiple files: Upload as many files as needed - they'll all be processed together.
Monitor status:
| Status | Meaning | Action |
|---|---|---|
| Uploading ⏫ | Transferring to server | Wait |
| Processing ⚙️ | Extracting file data | Wait (1-5 min) |
| Completed ✅ | Ready to use | Proceed to next step |
| Error ❌ | Failed | Fix issue and re-upload |
💡 Status updates automatically - no need to refresh
Finish: Wait for all files to show "Completed", then click "Upload" or "Next"
Step 3: Review and Generate
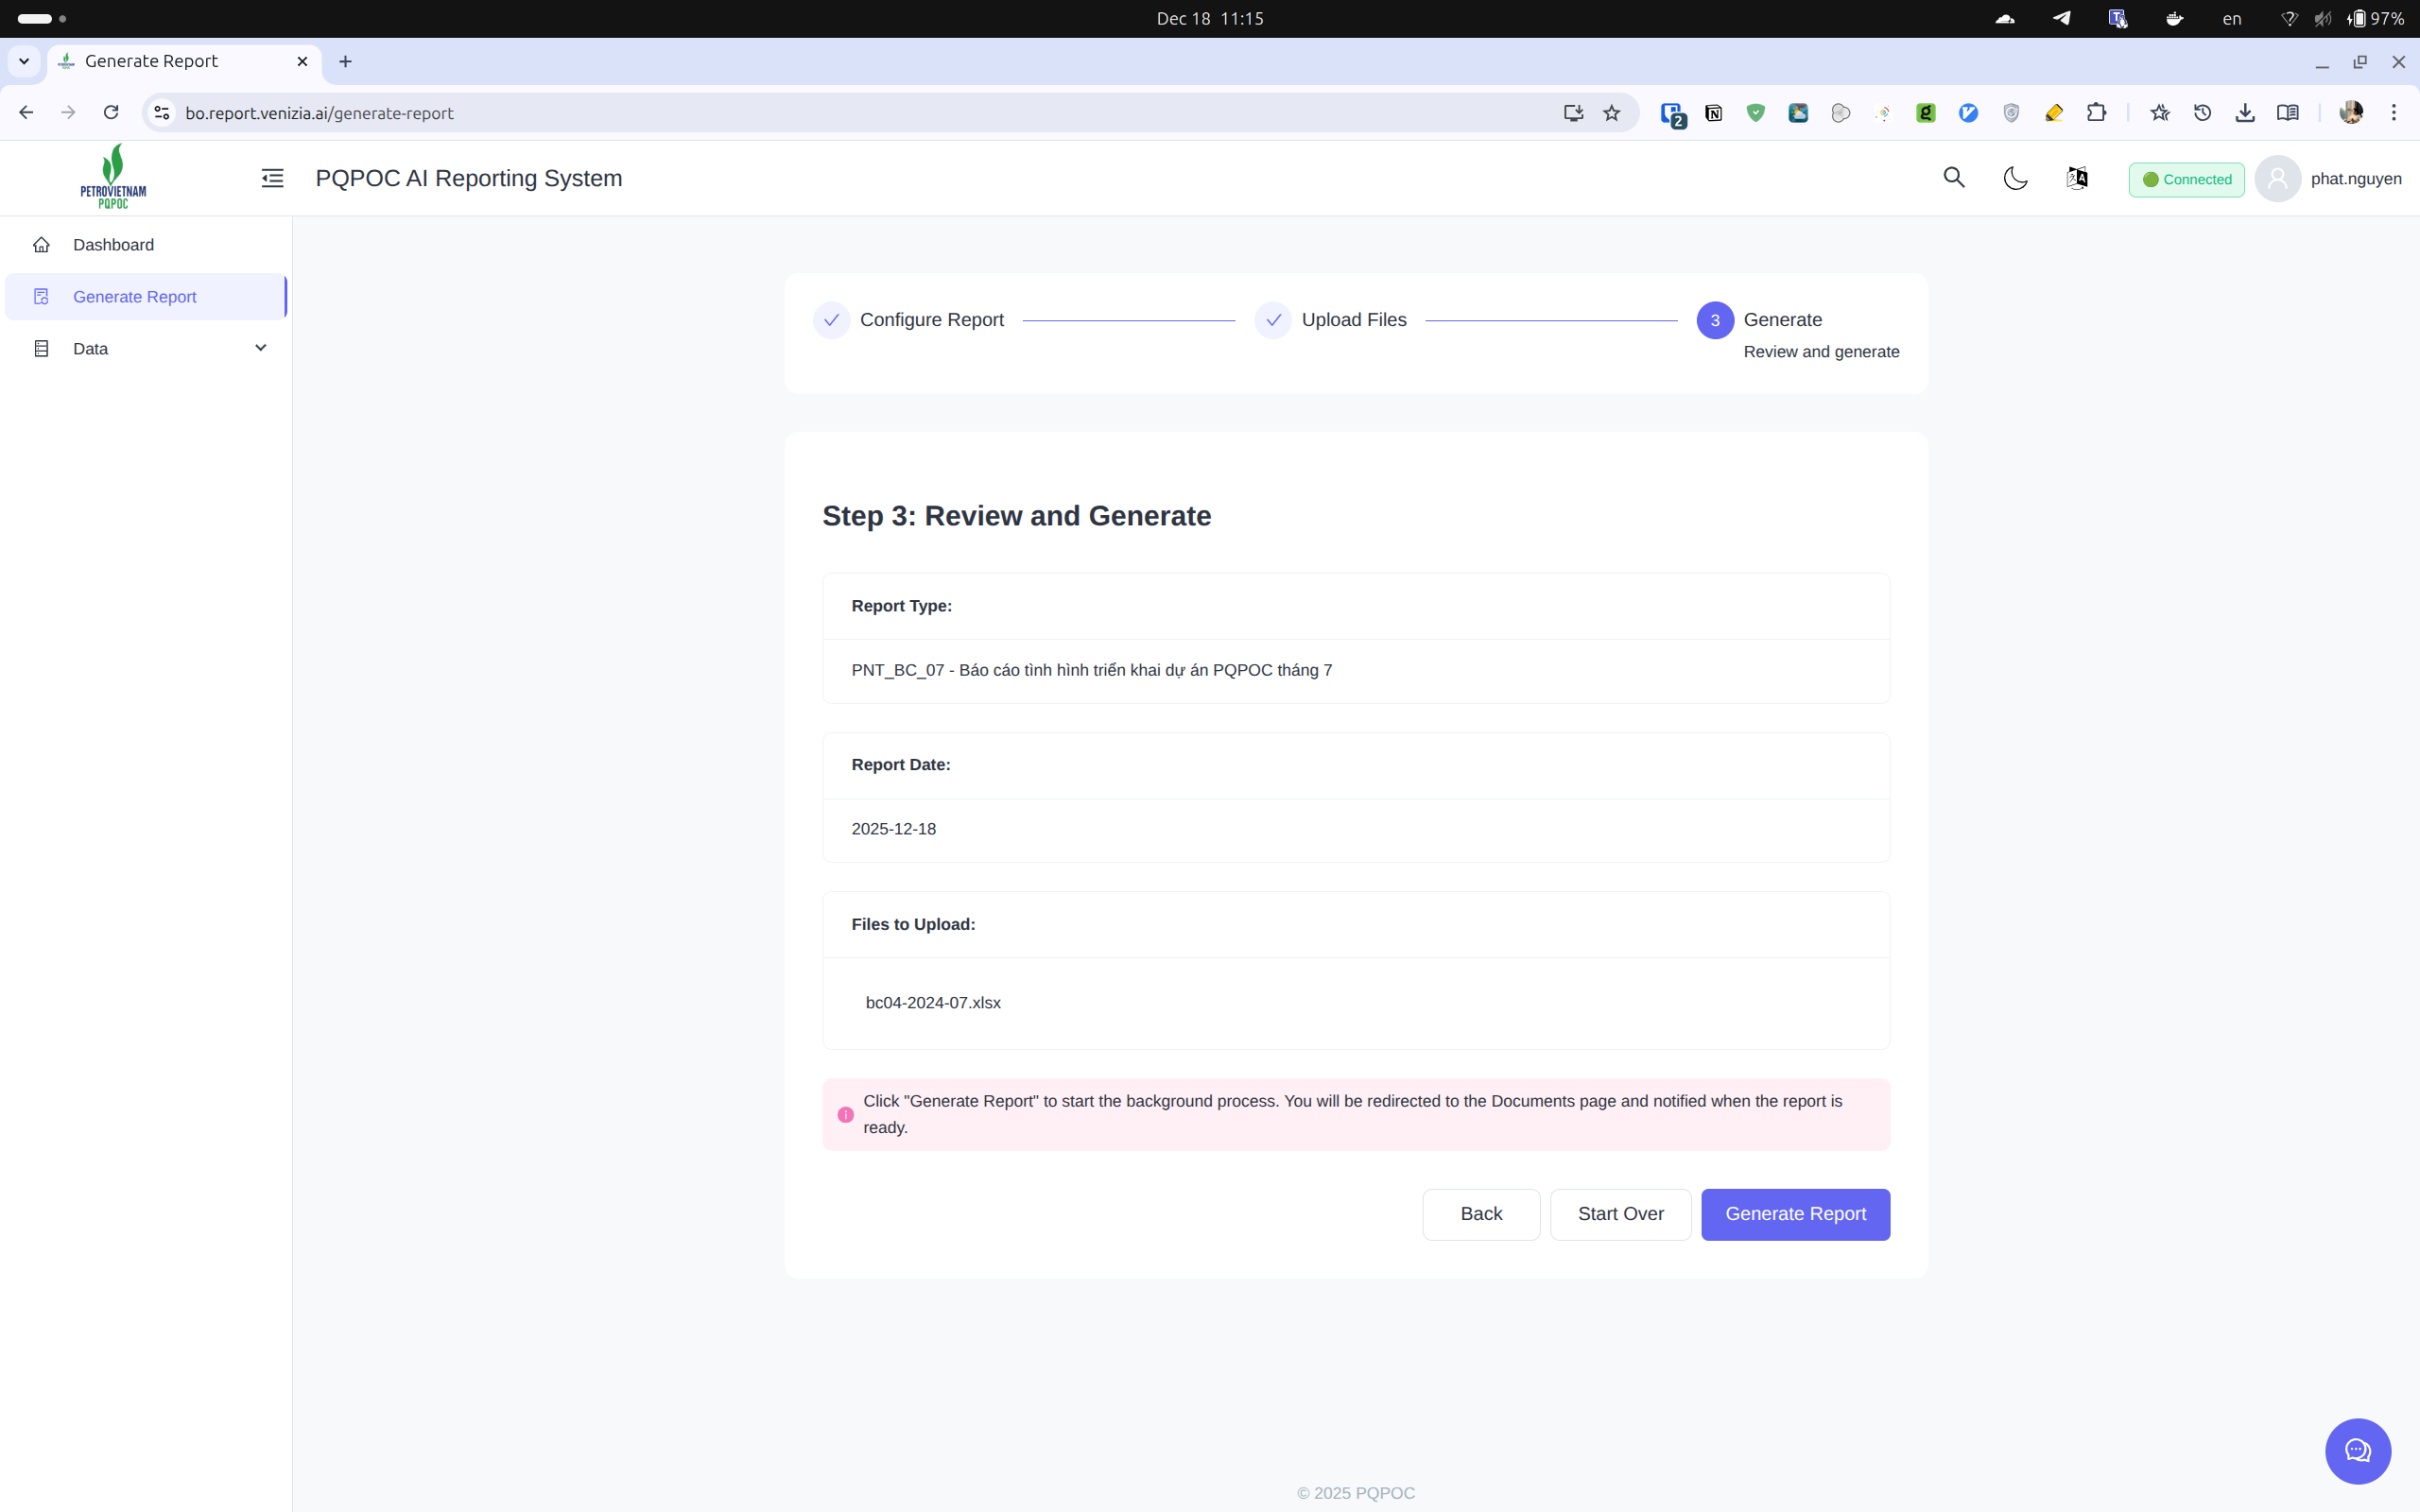
Review your configuration:
- Report Type: e.g., "BC-04"
- Report Date: e.g., "2025-12-12"
- Files: List of uploaded files
Final check:
- ✅ Report type is correct
- ✅ Date is accurate
- ✅ All data files uploaded and completed
- ✅ Ready to generate
💡 Click "Back" to change anything
Generate:
- Click "Generate Report" button
- System creates background job (you'll get a job ID)
- You're redirected to Documents page
- Continue working - you'll be notified when complete (typically 5-15 minutes)
Alternative options:
- "Start Over": Discard and start new report
- "Back": Return to previous step
Accessing Your Reports
Finding Generated Reports
- Navigate to "Kho Dữ Liệu" (Data Storage) in the left sidebar
- Look for your report by type name and date (most recent at top)
- Status shows "COMPLETED" when ready
Downloading Reports
- Find your completed report in the list
- Click the download icon or action button
- Choose format if options available (PDF, DOCX, etc.)
- Save to your computer
Report Generation Status
| Status | Duration | Action |
|---|---|---|
| Queued | Seconds to minutes | Wait, job will start soon |
| Processing | 5-15 minutes | Wait, check notifications |
| Completed | - | Download from Documents |
| Failed | - | Check error message, contact admin |
Need help? See Key Concepts or Chat with AI Assistant | Back to User Guide Home